Getting Started with STEM in your Classroom
/
Getting Started with STEM in Your Classroom
If you are not yet teaching STEM in your classroom, the chances are good that you will be within the next few years.
But, what exactly is STEM and how do we go about teaching it?
What Does STEM Stand For?
The acronym itself stands for Science, Technology, Engineering, and Math.
While Science and Math are old staples of formal education, and you may well have come across elements of Technology and Engineering in various other subjects, the main difference in the teaching of these elements under the umbrella term of STEM lies in how they are taught.
However, before we take a closer look at STEM and how it’s taught, you may have noticed a similar acronym floating around containing one extra letter: STEAM.
A Quick Word on STEAM
In recent years, the acronym STEAM has become much more visible.
The A here stands for ‘arts’ and refers to art in a broad manner that includes the liberal arts, fine arts, physical arts, and music etc. It was added to encourage the integration of the creative arts into the STEM subject area.
There’s much debate between educators as to the value of this endeavor. Some argue that STEM should retain a clear separation between the sciences and the arts, while others argue the contrary.
This debate is relatively new and as yet unresolved. As a result, there is no clear consensus on what STEAM would actually look like in the classroom. That said, for the purposes of the rest of this article, we will refer exclusively to STEM, though there may well be ample opportunities to weave the arts into many of the STEM-based activities.
The STEM Curriculum
STEM in the classroom focuses less on the content of the various aspects of the subject, or the acquisition of theoretical knowledge, and more on learning to apply related skills.
STEM focuses heavily on promoting problem-solving and critical thinking skills to help find solutions. It is, above all, a subject directed at the doing rather than just the knowing.
Common elements of the various STEM curricula usually include elements of the following 3 areas:
Design: using design techniques and tools to solve problems and challenges
Application: applying knowledge and skills to solve real-life problems
Integration: drawing on knowledge and skills from a range of overlapping disciplines
Depending on your situation (the type of school, educational system, level of students, management structure, etc) you will need to decide whether you will be teaching STEM as a discrete subject or weaving it into other areas of an already existing curriculum.
Regardless of how the subject is approached, the following general advice will apply to getting started with STEM in your classroom.
Organize the Learning Space
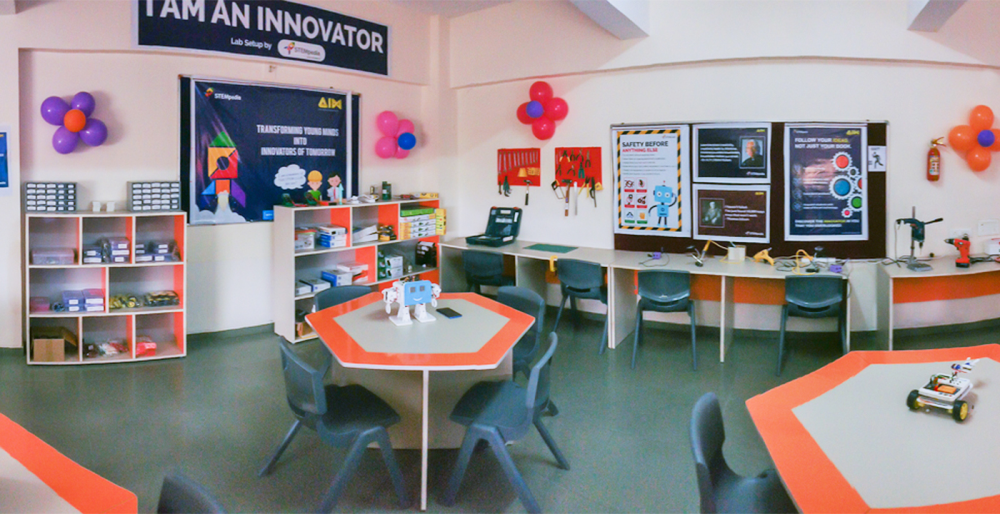
Creating a STEM lab or MAKER SPACE can be both an empowering and an expensive process depending how far you wish to proceed
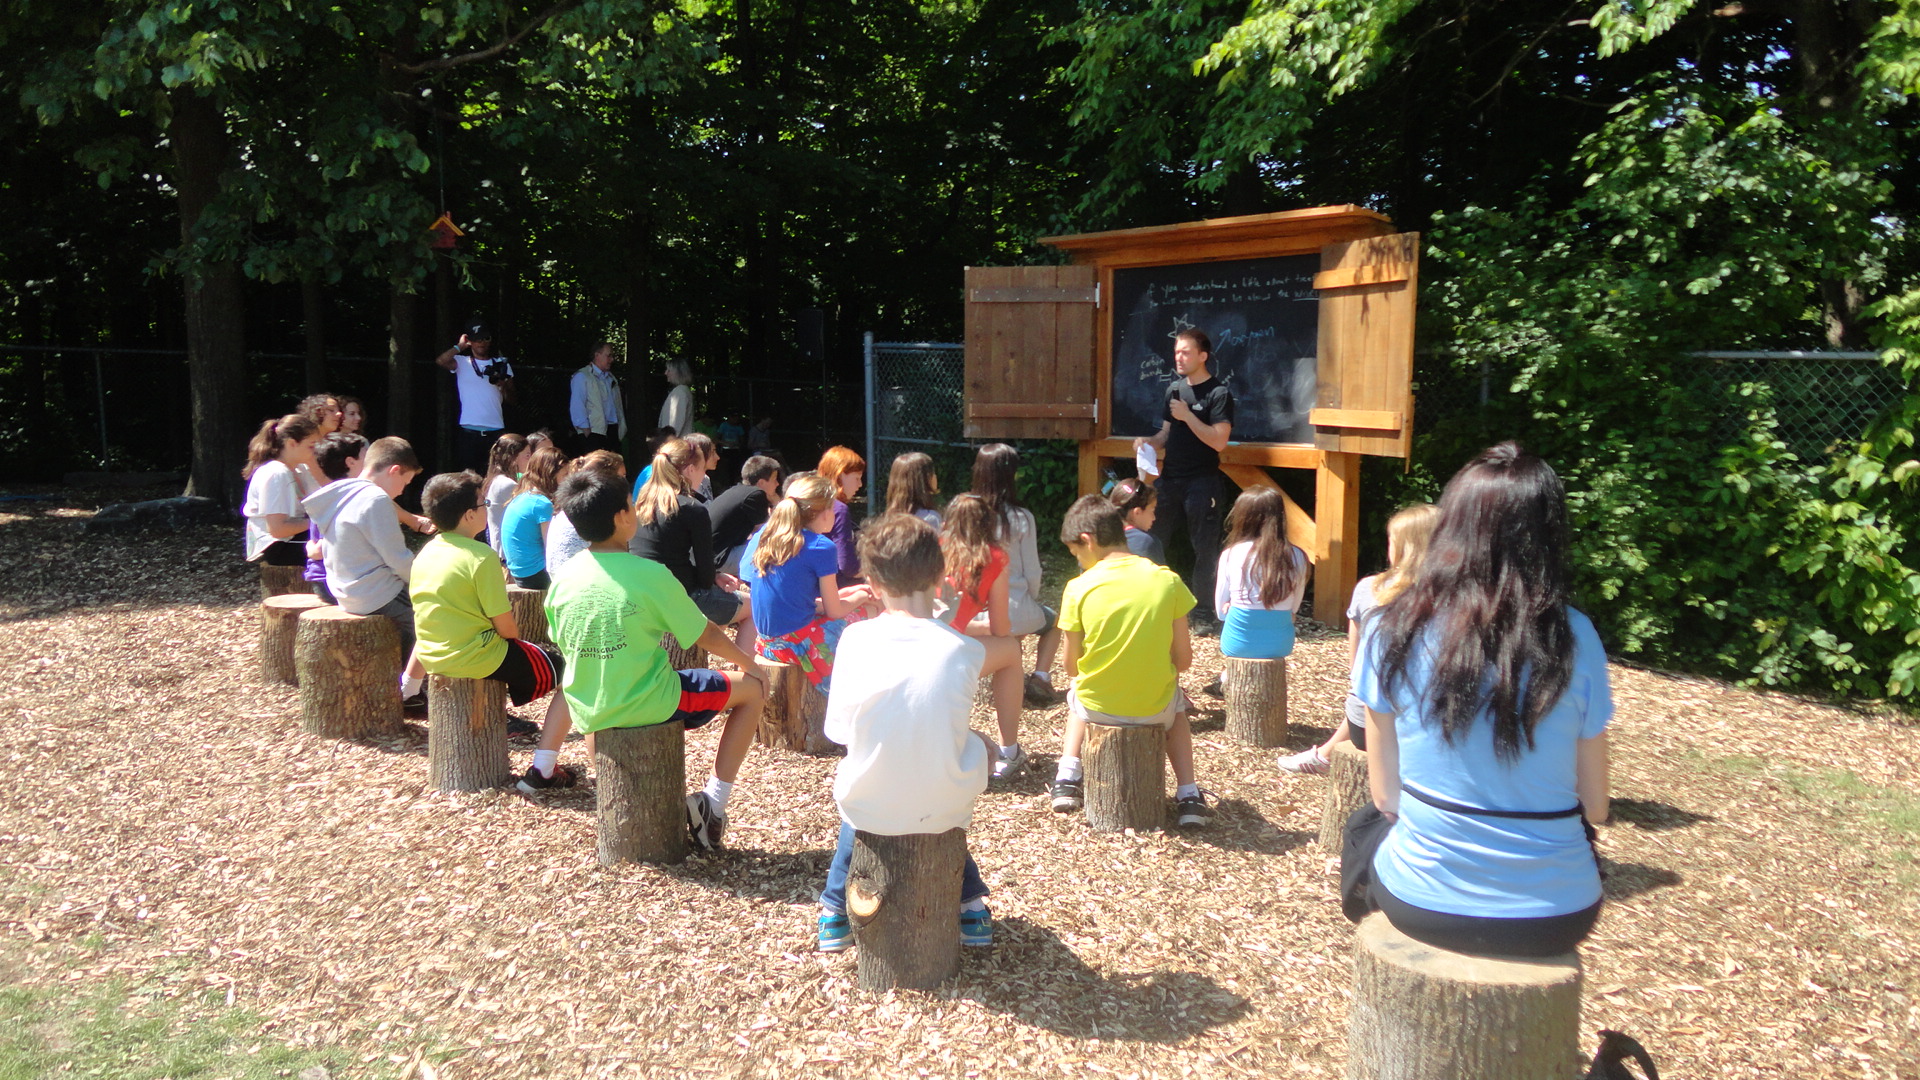
STEM is about problem-solving and critical thinking. One of the best ways to develop these skills is through collaboration and teamwork. Before introducing STEM to your students, be sure you have optimized the space available to facilitate group work.
This may mean rearranging tables and chairs. It may even mean removing chairs entirely and grouping smaller desks together to create larger working spaces. These spaces should be suitable for group work and the demands of working on large projects.
In a practical subject such as STEM, safety is a critical factor to consider too. Be sure to have a walk through the area prior to beginning the lesson so that you can identify and eliminate potential hazards.
Encourage Collaboration and Teamwork
Project-based learning is a key element of STEM in the classroom. Teamwork and collaboration are essential elements of ensuring the successful completion of any science or engineering project.
There are a number of ways you can encourage collaboration and teamwork in your STEM lessons. Let’s take a look at some of these:
● Be sure to embed the importance of collaboration and teamwork into the design of your activities
● Help students understand the importance of teamwork and collaboration
● Model directly to the students what good teamwork and collaboration look like
● Establish clear expectations for working together
● Ensure all learners are engaged and sharing ideas during lessons
● Build-in discussion opportunities and stress the importance of consensus building
● Reinforce the idea of collective responsibility
● Assign meaningful roles and responsibilities, where necessary
● Encourage self-reflection and evaluation.
Be Prepared: Plan, Plan, Plan!
Good planning is essential for any effective teaching to take place, but this is especially true if teaching STEM is new to you. The better prepared you are, the more likely the lesson is to be a success.
Of course, we need to maintain some flexibility in our delivery to respond to the unexpected. However, there are six general elements that are characteristic of any good STEM lesson:
● Ask a question that focuses on a real-world challenge
● Make sure students are guided by the engineering design process (more on this below)
● Involve students in hands-on practical inquiry
● Ensure students work collaboratively
● Utilize technology and include Science and Maths content
● Allow for multiple correct methodologies and solutions
If you manage to include these six elements in each of your lesson plans, you will be well on your way to crafting an effective STEM learning experience for your students.
Share Student Learning Objectives
This subject is, to a large degree, about trial and error. It is important that students are not afraid to take chances, make mistakes, and to try new things.
That said, it is equally important that they have a clear focus for their investigations. This means you need to be sure to share objectives with the students at the beginning of the lesson.
You can share your learning objectives orally, but it is often helpful for students to see these objectives written down, whether on the whiteboard or on the top of a task sheet.
In STEM, learning objectives shouldn’t be worded in a way that suggests an expected outcome. Rather, the objective will relate to a central question that is to be explored.
Encourage your students to refer back to this initial problem regularly throughout the lesson to ensure they are maintaining their focus. It is easy at times for students to go off on tangents due to the more open-ended nature of this subject. Be sure to draw them back to task with clearly expressed objectives.
Incorporate The Engineering Design Process
Earlier we mentioned the importance of the engineering design process for guiding students, but what is this process?
The engineering design process is a series of steps that can be followed to help students come up with a solution to their problem.
The process encourages an open-minded approach to problem-solving and works under the principle that failure is a necessary part of the learning process. That is, failures are not mistakes, but a means of refining the efficacy of the solution.
There are quite a few versions of this process out there. Usually, they vary in the number of steps but retain common underlying principles.
A little research will turn up these different variants, but here is a simple 5 step version that is very suitable for use in the classroom.
The 5 Step Engineering Design Process

Ask: Define the problem - without a clear idea of the problem, any further investigations will be unfocused and ineffective
Imagine: Explore possible solutions - brainstorm as a group, then research and analyze the various ideas that arise
Plan: Choose a solution to investigate - identify the resources required and outline proposed methods of investigation
Create: Create something - follow the plan and try things out, what went well and what did not?
Improve: Redesign as necessary - evaluate prototype, revise plan in light of information and knowledge gained.
Integrate Technology
Technology, of course, puts the T in STEM and it is essential that it is integrated into your STEM lessons. Like the other elements of the subject, the application of the skills of technology will be applied to find a solution to the identified problem.
When considering where exactly to integrate technology, the steps of the engineering design process above provide a good starting point.
When planning your lesson, consider what technology is available for the students to use and how it can best be employed at each of the 5 steps of the process.
For example, at Step 2 can students use the internet to research the possible solutions or to help analyze the various ideas?
Or, when working on Step 3, can students use digital models or simulations to help investigate possible solutions?
5 Simple STEM Activities
There is no end to the number of activities that can be designed to incorporate the teaching of STEM principles in the classroom.
One of the best things about this subject is that most activities are easy to adapt and differentiate for varying ages and abilities.
It is also worth noting that when looking for STEM activities to do with your students, it is common to come across projects that have prescribed outcomes. This is true especially when the activities are aimed at younger students.
Remember, for STEM to be really meaningful there should be room for some open-ended investigation too.
A good way to test whether there is room for open-ended investigation in a project is to consider whether or not the engineering design process can be applied. Where students are working towards a predetermined outcome, there will be no room for the use of this process.
In the following section, we will take a look at 5 simple activities that can be easily adapted to suit the specific learning needs of your students, while also providing a starting point for the creation of your own ideas for STEM lessons.
1. Design a Cell Phone Stand
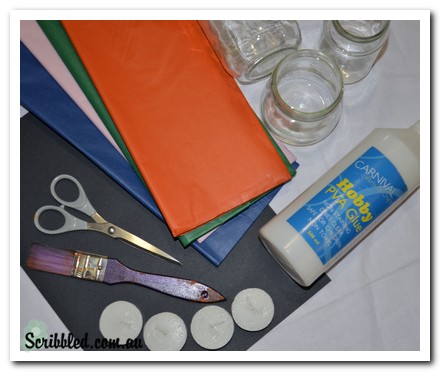
This activity challenges the students to design and build a simple cell phone stand using the engineering design process. Students will need a cellphone and an assortment of materials to build their designs (card, rubber bands, paperclips, lollipop sticks, glue, tape etc). Task your students with creating a cell phone stand that is functional and convenient and then compare the different designs and prototypes that emerge.
2. Build a Baking Soda Rocket
Likely your students will be aware of the explosive potential of baking soda and vinegar from making volcanoes in their kindergarten days. In this activity they will harness the same chemical reaction to power their own rockets. The challenge here is for the students is to select the best available materials to construct an aerodynamically designed craft that will fly as far as possible.
3. Blow the Best Bubbles
In this activity, students will explore which mixtures produce the best results for blowing bubbles. Provide the students with a range of options to add to water, including washing up detergent, glycerin, and light corn syrup. They’ll also need measuring cups and something to make the wands from, such as pipe cleaners for example. Students explore what ingredients make the best mixtures and in what quantities each ingredient is required. As an extension, you may challenge students to explore the best materials and shapes for making the wand too.
4. Build a Robotic Hand
Challenge your students to research the mechanics of how hands work and use the acquired knowledge to build their own robotic versions that are capable of picking up light objects. Students will learn how bones, muscles, tendons, and joints work together and come up with ideas on how to recreate artificial versions of these. Groups will need to experiment with a wide range of materials, so be sure to have a wide selection of resources available for their experimentations. As a starting point, be sure to have drinking straws, string, tweezers, modeling clay, cardboard tubes, rubber bands, and paperclips available.
5. Build the Strongest Bridge
Choose two platforms that the bridges will span. This could be a space between two large books, two tables, etc. Students should investigate various designs and shapes for their bridges and explore the load-bearing properties of various materials. The strongest bridge will span the gap and be able to bear the heaviest load. This activity can be a great way to instil a competitive element into a lesson where groups vie against each other to build the strongest bridge.
Go Get Started with STEM!
These are just a few simple ideas from which to build out a STEM focussed lesson for your students. It should be apparent that the possibilities for STEM-based investigations are endless.
Remember though, no matter what the focus of a classroom STEM investigation is, the underlying principles at play will involve students overcoming their fear of failure in favor of the rewards of trial and error.
A classroom atmosphere that encourages curiosity and courageous exploration is the one key essential.